Don’t overlook this really fast mod that will make your life so much easier.

If you have ever purchased an after-market bed, like a Brooklyn mattress. Suddenly opening the bed to get to storage can be a real pain. Any mattress other than the thin, cheap, flimsy one that came with your RV is going to weigh too much for the air shocks to lift it. That makes it almost impossible to get to the storage area under the bed.
Now, if the RV manufacturer actually put a decent mattress in your unit, chances are that the shocks are still struggling to lift it.
Our Delta 294RK had a 40lb shock on each side of the bed frame. It provided almost no help in getting our mattress up so we can utilize the storage. In fact, Tammy finally gave up trying to get things out from under the bed. I didn’t blame her at all – it was a pain to lift it and then hold it with your shoulder while you tried to get something out.
The solution for us was to replace those “stock” 40lb shocks with 80lb shocks. I did a fair amount of research before I settled on the 80lb shocks. If i had stepped up to a higher weight, like 100lb, then closing the storage door could become an issue. I didn’t want to create a new problem.
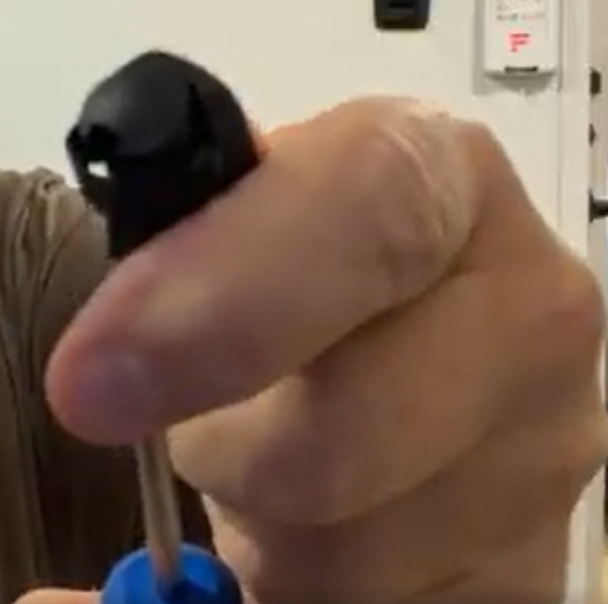
All you need to do this job is a small flat blade screwdriver. Of course, you need to measure your existing shocks to make sure you purchase the correct size. You will also need a tin snip or a scissors to cut the band off of the new shocks but more about that in a minute.
So click here to see what I purchased from Amazon.

Before I received these, I thought I would be unscrewing the existing brackets. However, this is so much easier than I thought. So relax, you won’t need to unscrew any brackets. On the back of each end of the shock, there is a clip that holds the shock to the ball joint end of the existing bracket. There is a divot under the clip. Place your screwdriver (a small one) under that clamp and pry it up. You really don’t even need to remove the clamp. Once the clamp is up, just pull the existing shock off the ball joint. Now repeat for the other end.
The good news is that you don’t need to do anything to the clips on the new shocks. You will just push them very hard onto the ball joint until they click into place. I would start with the bottom first. Then raise your storage door until the top of the shock lines up with the upper ball joint. Then press that one in and you are done!
Now, just a brief word on opening your new shocks when they arrive. Chances are that they will be wrapped in a cloth or metal band to keep them compressed. You will need to cut that band before installing them. When I read the directions, it really sounded like this was dangerous, and that they were going to expand at the speed of light. That wasn’t the case for me. They expanded quickly but not in a dangerous fashion. However, I would hold the shock at arm’s length when you cut the band. Also, as always, read the directions for more details, as your shocks, and manufacturer may be different than mine.
What an incredible difference this made for lifting that mattress to access the storage area. Needless to say, Tammy was happy and impressed with the results. Now we can resume putting Eva’s food, bowls, and our carpeting under the bed. So, do yourself a favor and quit struggling to hoist your mattress. Upgrade those shocks!
Share this post:


Leave a Reply