Don’t neglect this task. Wheel Bearing Maintenance really does need to be done every year or 12000 miles (Whichever comes first).
However, as with everything else regarding RV maintenance, don’t do it yourself if you feel uncomfortable doing so. This involves jacking the trailer up to remove the tires and must be done carefully and safely. Review your owner’s manual for proper blocking and jacking procedures.
Some folks will tell you that it is perfectly OK to jack the trailer up using the axles. That goes against the my axle manufacturers advice (Dexter). They specifically state “NEVER raise the trailer by jacking up via the axles”. Therefore you will want to be safe and place your jack under the frame of the trailer to raise it. Then place some jack stands under the frame as well. Do not use your leveling jacks to raise the trailer; they are not designed for that.
Now, let me briefly talk about the process in a series of steps. These apply to my travel trailer, yours may be slightly different.
Step-1: Loosen but do not remove the lug nuts on the tire.
Step-2: Jack up the trailer via the frame and support it.
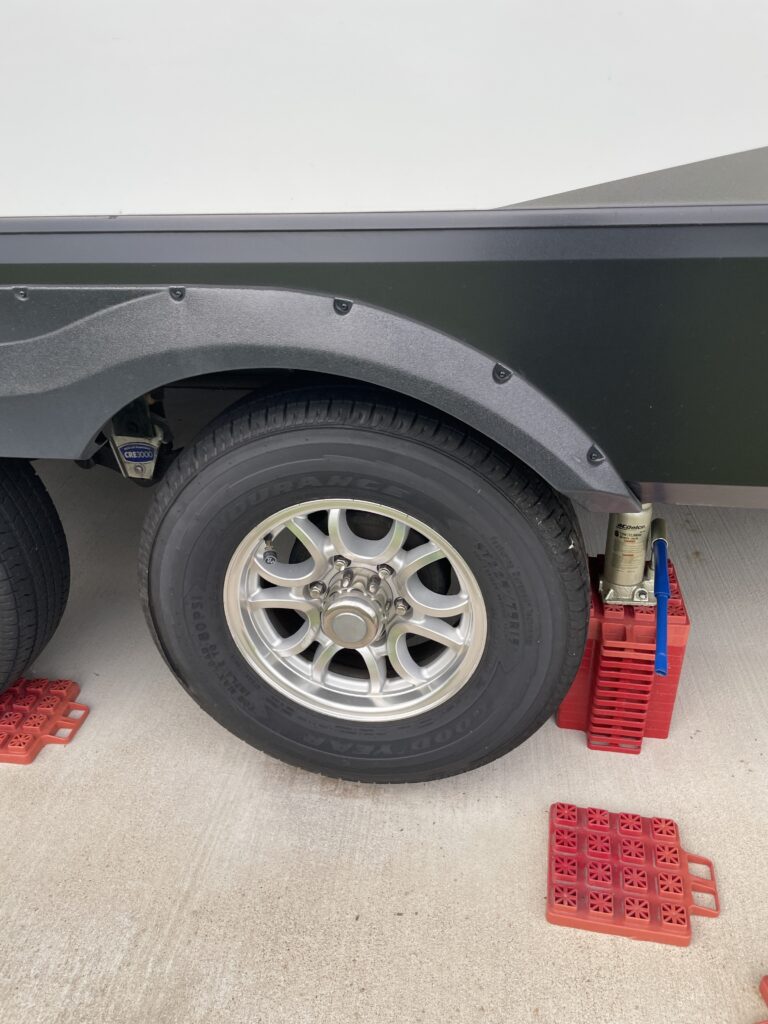
Step-3: Remove all the lug nuts, and remove the tire.
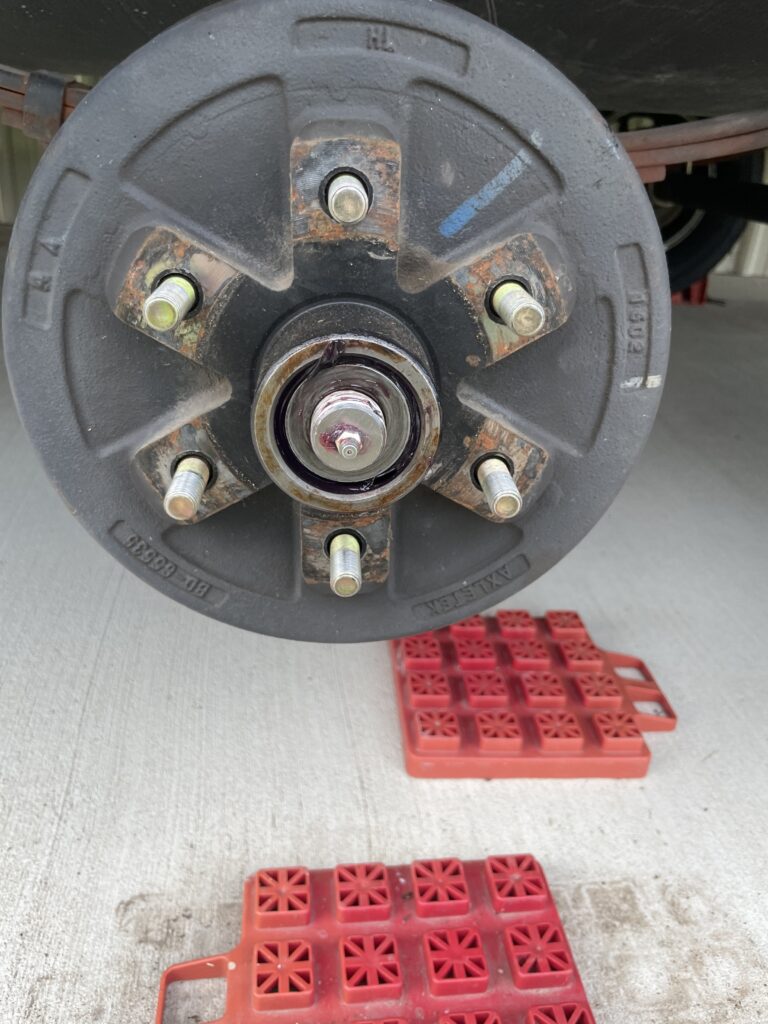
Step-4: Remove the dust cap on the wheel drum.
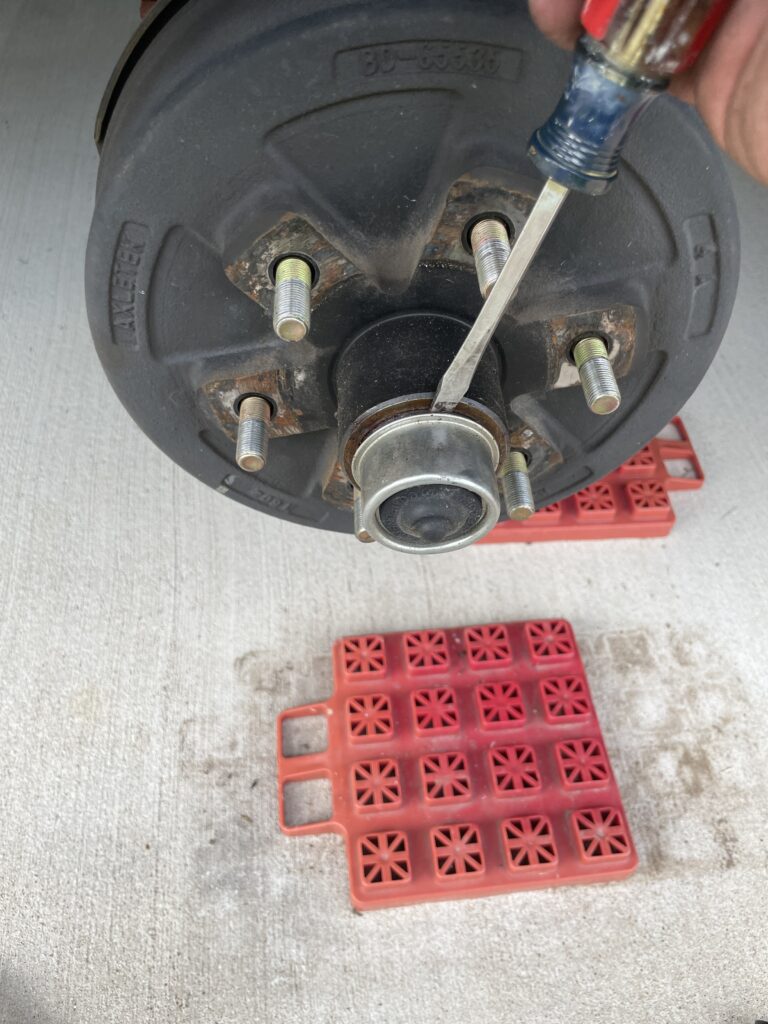
Step-5: Remove the cotter pin or spindle nut retaining band. Then remove the Castle Nut.
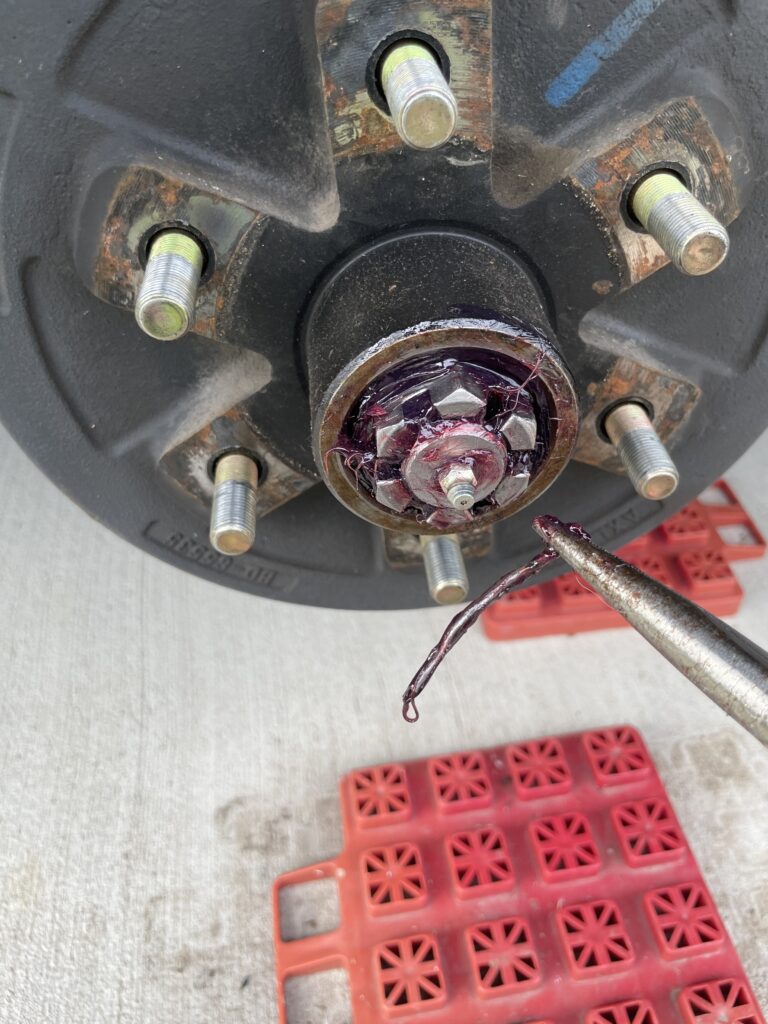
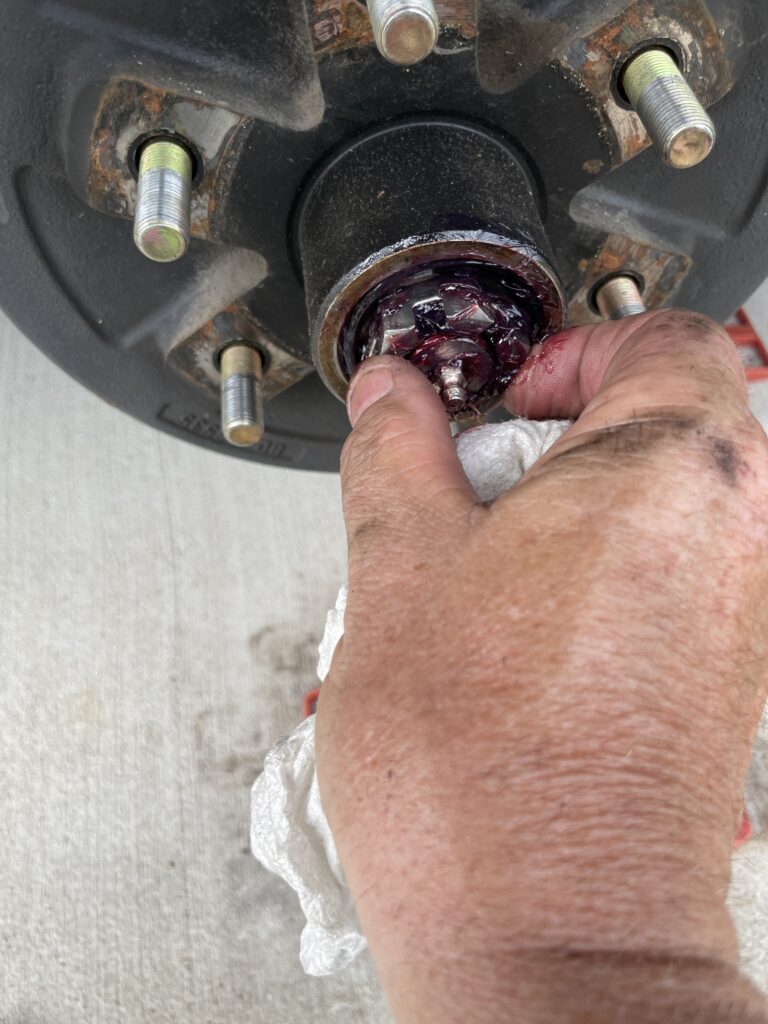
Step-6: Gently pull the drum forward to remove the outer bearing and thrust washer, and the wheel drum. In the picture below I have pulled the drum forward and you can see the thrust washer and the bearing coming out of the drum. Pull the drum forward until the washer and bearing fall into your hand – Don’t let them fall on the ground. Note in the picture how black that grease is after only one year.
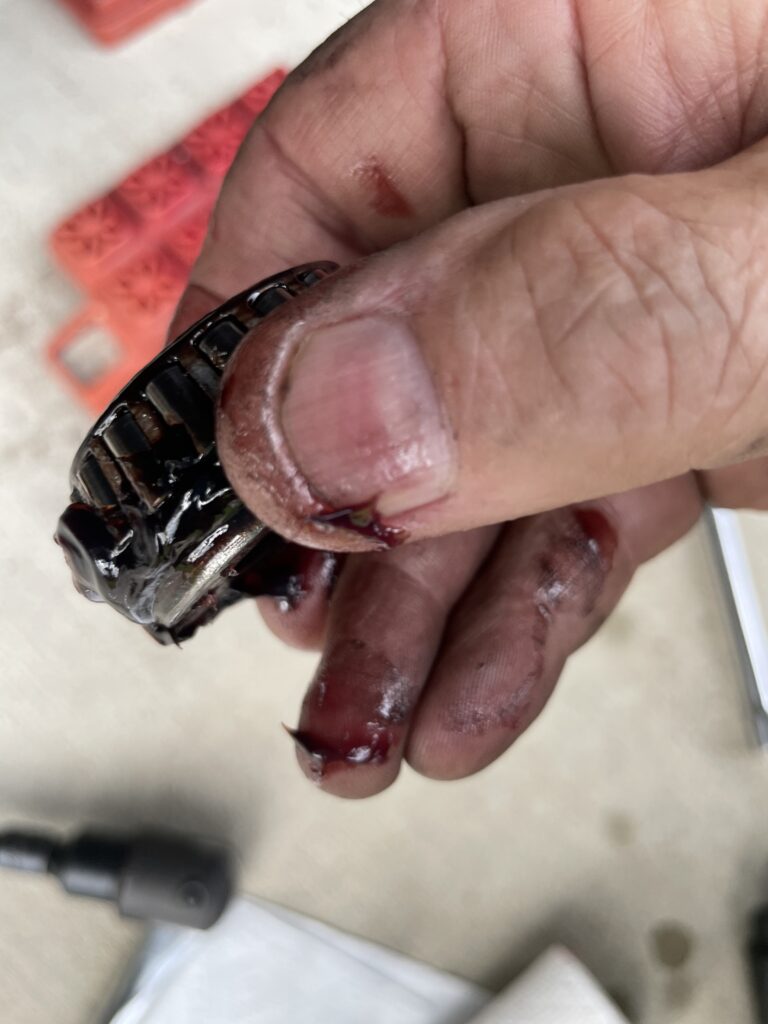
Step-7: Clean the outer bearing. I use brake cleaner to completely remove all grease. I then set it aside to dry completely which doesn’t take long.
Step-8: Inspect the bearing for pitting or signs of wear.
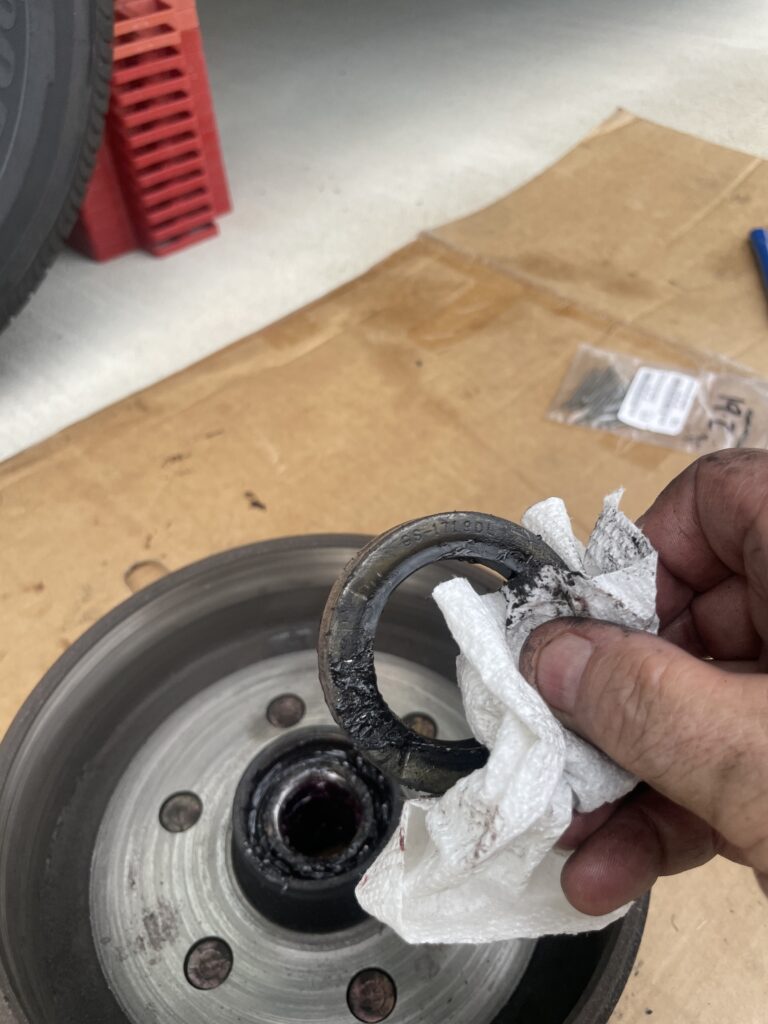
Step-9: Inspect the race for the above bearing. Look for signs of scoring, pitting, or high temperature scoring.
Step-10: If the bearing and race are in good condition they can be repacked. I use a bearing packer, but this can easily be done by hand as well. There are some excellent videos on packing bearings by hand on you tube. Just put a large glob of grease in the palm of your hand and then continue to push the bearing down into the grease over and over until the grease comes out the entire opposite side of the bearing. The bearing packer does this for me, but I have packed many bearings by hand.
Step-11: Turn Wheel drum over and remove the rear seal. This can be the worst part of the job as it won’t come out easily. I use a seal removal tool. Even with that tool there is some profanity that takes place. Don’t worry about damaging the seal, you must replace it with a new one anyway.

Step-12: Remove and clean the rear bearing.
Step-13: Inspect the bearing for pitting or signs of wear.
Step-14: Now inspect the race for the rear bearing. Look for signs of scoring, pitting, or high temperature scoring.
Step-15: If the bearing and race are in good condition they can be repacked.
Step-16: Inspect the spindle for any wear. Inspect the brakes and inspect the inside of the drum and make sure no grease is in the drum.
Step-17: Pack and reinsert the inner (rear) bearing and install a NEW seal.
Step-18: Lightly lube the spindle.
Step-19: Slide the drum back on the spindle.
Step-20: Re-insert the outer bearing, thrust washer, and spindle nut. Hand tighten the spindle nut.
Step-21: Using a torque wrench, tighten the spindle nut while rotating the drum to 50 foot pounds. Then back off the nut until it is loose and then hand tighten it.
Step-22: Make sure there is not back and forth play in the drum, and insert the cotter pin or spindle nut retaining band.
Step-23: Re-install dust cap.
Step-24: Re-install the tire, and torque the lug nuts to spec.
Now, keep these steps in mind and next go to YouTube. Watch the endless number of videos on the subject. After you watch about a dozen of them you will understand the process pretty well and even be able to identify folks that are not doing it correctly in some of the videos. Trust me, this isn’t rocket science. However, the most important part of this job is making sure you are doing it safely. Having a travel trailer fall on you would be an absolute disaster.
Now, you may be asking your self “why would I need to do this yearly?” Well, these wheels have a lot of weight on them. If your grease is old or the bearing runs dry, you are going to have a major disaster on your hand. That bearing will come apart and ruin your drum, brakes, and your axle. Needless to say, you will be on the side of the road for an extended and expensive vacation. Bearings are cheap…axles plus labor is very expensive.
If you have the Dexter E-Z Lube axles, I want to caution you about what you might see on line. There are many folks that pump grease into the E-Z Lube zerk fitting as a substitute for repacking the bearings. Please don’t do that. It doesn’t allow you to inspect the bearings, your spindle, or your brakes for wear/damage. In addition, I have had conversations with Dexter regarding the E-Z Lube on my trailer and they advised against using it. Some folks will use the easy lube feature after repacking the bearings in order to fill up the cavity in the wheel drum between the inner and outer bearings. I don’t do that, and I think there is a debate about just how useful (or not) that really is.
I highly recommend that you OR a RV tech repack your bearings every year. Don’t tell yourself “Well I don’t put that many miles on anyway, so I should be fine”. Thinking that way will get you all the way to the side of the road. Some dealerships repack bearings at a very good price, but make sure the dealership has a good reputation. Personally, I like to do my own work whenever possible, but there is absolutely no shame in having someone else do this for you.
One last piece of advice: wear gloves and do this on a cool day.
Share this post:


Leave a Reply